


How to Set Up an Ultralight Tarp Shelter for Backpacking
Camping tarps are one of the most versatile gear you can carry in your backpack. True, they aren't glamorous and lack the magic and wow factor that tools and technology possess. They're nothing more than tarps. What could be more thrilling than that? The humble camping tarp can bring you closer to nature than any other sleeping system in a world of high-tech camping tents and modern RVs.

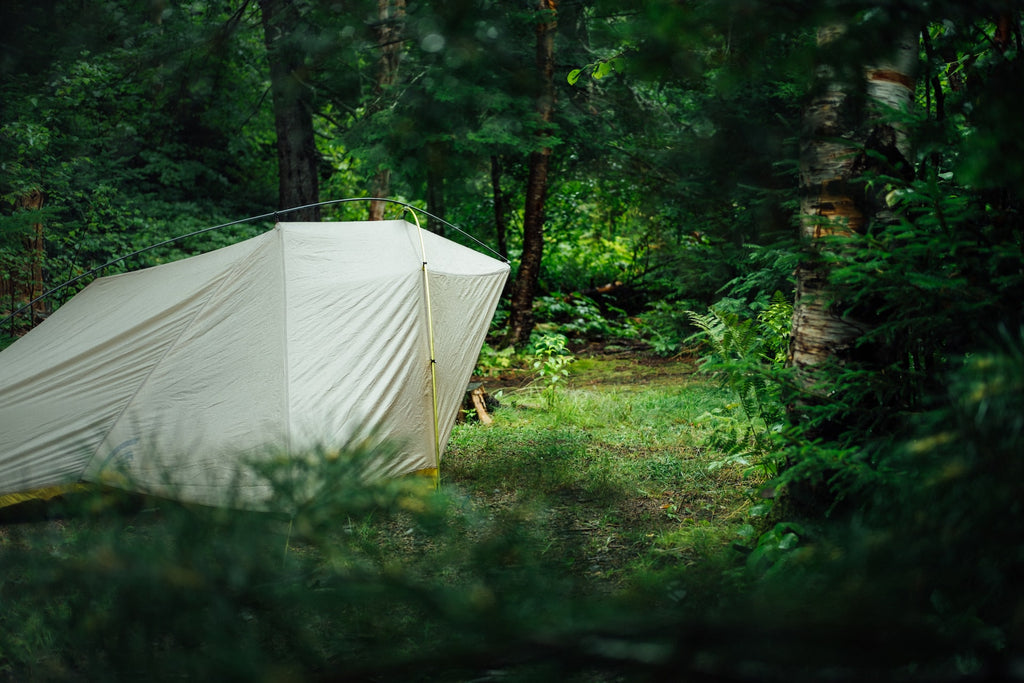
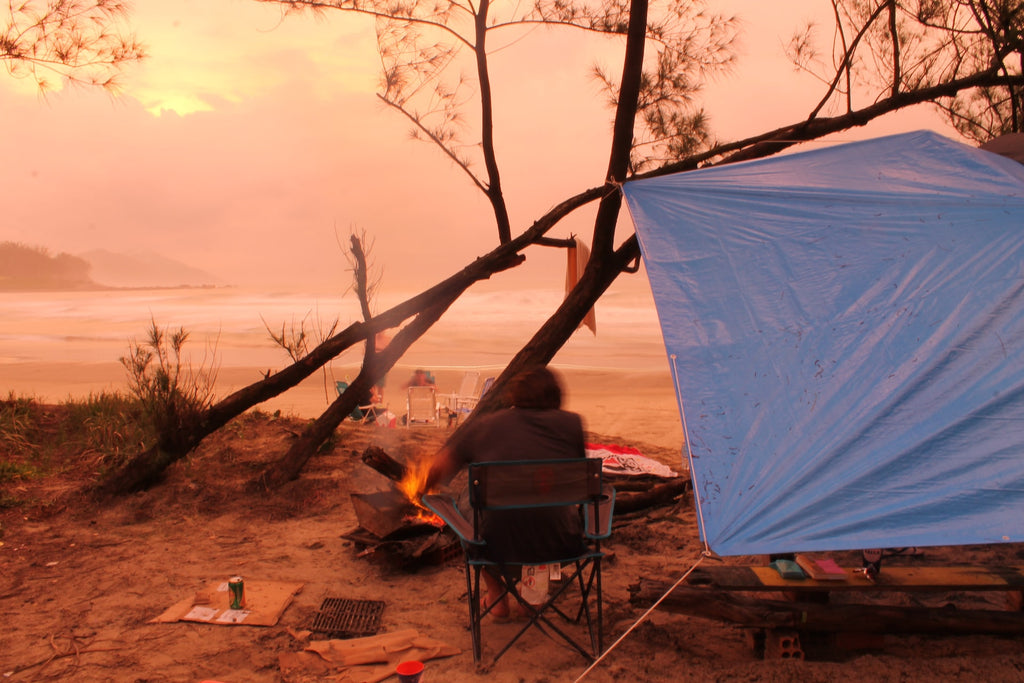
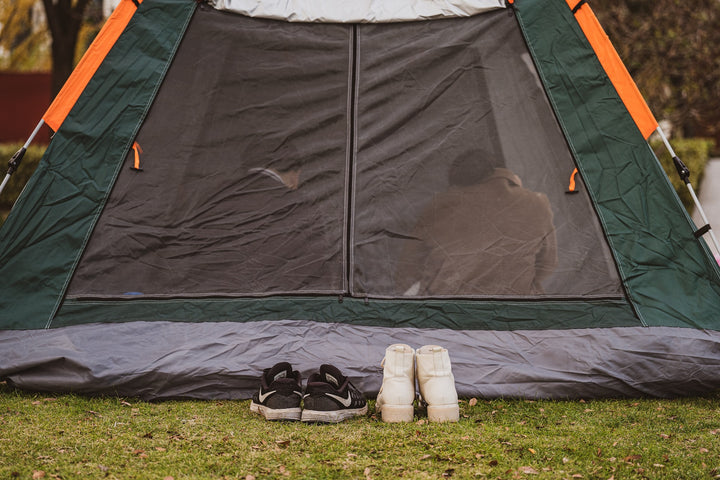
Tarps are popular among thru-hikers and minimalist backpackers because they are lightweight and take up little space in a pack. And those backpacking tarp shelters aren't like the big blue tarps you might find at your local hardware store; instead, they're made of thin-yet-strong nylon or polyester that's either waterproof or highly water-resistant.
Tarp Shelter Setup Materials
Tarp shelters differ slightly in terms of what comes with them, but your basic supply requirements are simple:
- The tarp: Many are square, which is appropriate for the setups described in this article; sizes and shapes vary—backpacking tarps are 9' x 9' and weigh one pound (or a bit more).
- Guylines: Usually included; some are pre-attached and have tensioners or cleats built-in for ease of installation. However, all you need is some cord and knot knowledge.
- Extra cord: Usually not included, you can make a ridgeline, add extra guylines, or extend guylines.
- Stakes: Most, but not all, shelters have them; you may want to bring an extra stake or two just in case you lose or break one.
- Poles: Most shelters are designed to be used with trekking poles (not included), though a few may come with their own.
Tarp shelters are popular because of their versatility: they can be set up in various ways, adding to the fun. Below, we'll go over some basic setup options for new tarp shelter users.
Three Important Knots to Understand
You can use a variety of knots, so if you're a skilled cord wrangler, a tarp setup is an excellent opportunity to show off your abilities. If you're like many of us and find anything other than our shoelaces difficult, spend a few minutes learning three superficial knots:
The bowline is used to attach a guyline to a guy out loop or a tree trunk.
The trucker's hitch is used to secure and tension a guyline to a stake or tree trunk.
The prusik: Allows you to adjust tautness by freely sliding the hitch until tension holds it in place; used for securing the front and back edges of a tarp along a ridgeline.
Different Styles of Setting your Ultralight Shelter
Lean-To
The traditional lean-to. We'll admit that this looks like half an A-frame, and in a way, it is. However, the freedom you can set up your lean-to makes it far more versatile. Your lean-to can be shaped as a single wall and stand to a height of, well, however tall your tarp is. It could also have an overhang to keep you dry in the rain. Your needs determine the wall-to-overhang ratio, but the lean-to is an excellent tarp setup for anywhere with a prevailing wind direction.
Procedure
Step 1: Adjust your ridgeline to the correct height for your back wall and secure your tarp.
Step 2: To create a windbreak, pin the tarp's wall directly to the ground.
Step 3: Pull the top section of your tarp straight out from the ridgeline and support the corners with trekking poles or sticks to make a shelter or roof. For tight support, wrap your guy line around the top of your pole and run it to the ground.
Body Bag
Okay, the name is unappealing, but this is a great makeshift shelter for rainy tarp camping. It appears to be a low-level A-frame, which it is. However, there is a catch. This tunnel tent-style tarp is low and doesn't allow for as much movement as the other designs on this list, but it comes complete with a groundsheet, so you don't get soaked from the bottom up. You can close one end of this structure by dropping it in strong winds and pinning it to the ground.
Procedure
Step 1: Adjust the ridgeline to about waist height.
Step 2: Attach your tarp at least two-thirds of the way to one side of the ridgeline.
Step 3: Secure the short side of your tarp to the ground.
Step 4: Create a sidewall and a groundsheet with the longer side, pegging out both to form a taut triangular structure. Check that your floor does not protrude from behind your walls. Otherwise, it will collect lots of water and leave you in a puddle.
Tarp Tent
The tarp tent is a hybrid that can be pitched anywhere with only a hiking pole or a stick as structural support. It may not close completely with a zip like a tent, but you can make an entranceway that is tight enough to keep most of the weather out and provide you with as much protection. Just be careful not to roll over in the night and knock the pole down.
Procedure
Step 1: Arrange your tarp in a square pattern on the floor. Use the attachment points next to the corner rather than directly in the corner to peg out the two corners facing the wind. Underneath the tarp, tuck the corner.
Step 2: Move your attention to the front two corners. Peg each corner attachment point to the next along the front edge of your tarp. You should nail down only the corner attachment points. The shape of your tarp should now be roughly trapezoid.
Step 3: Insert your pole or stick into the tarp from the front vertically. Make sure not to bend a pole and that your stick does not pierce the tent. You may need to adjust the support length to achieve the desired tension on your tent. Alternatively, try shifting the support backward or forwards. Your tarp should be forming into a tent.
Step 4: The tent's door will be dangling loosely. Attachment points should be located halfway up on both sides. To tension your door, attach guylines to both of these and peg them back along the side of your tent.
Step 5: You can either peg out the flap above the door or leave it hanging. Adjust the pegs and your setup to have a more open or closed door. Pin your tent to the ground with any extra pegs you have on hand.
Adirondack
The Adirondack Park appears to be a fishing shelter. The sidewalls of this shelter provide additional wind and rain protection while retaining a little more heat than a traditional lean-to. It is ideal for fair-weather winter camping, where you can set up your campfire outside the shelter and enjoy the warmth without risking tarp damage. Compared to other covers, this one can be a little fiddly to set up and may not be a quick fix for a lunch break.
Procedure
Step 1: Adjust your ridgeline to approximately shoulder height. You should pull one corner over the ridgeline. Attach your tarp to your ridgeline using the next attachment point along the corner on tarps with multiple attachment points along each side.
Step 2: When the tarp reaches the ground, you should peg the outside corners directly into the ground. If necessary, adjust your ridgeline.
Step 3: Secure the back wall to the ground. Fold the remaining corner under - this can be used as a groundsheet, but it won't fill the entire space. Attach one of the central attachment points on the back of your shelter to the ground.
Step 4: Create sidewalls with the outside corners and peg them out at an angle appropriate for your setup. In warmer weather, you may prefer a more open shelter, while the sidewalls may be closer in windy conditions.
Step 5: To make a small roof, peg out the top corner or attach it to a nearby tree. Roll it over the ridgeline and down the back of the tarp to make a more open shelter.
Conclusion
When tarping, the best campsites are slightly elevated mounds higher than the surrounding ground, with porous absorbent soil rich in organic matter that soaks up rain rather than splashing it back at you. The formal portion of land does not need to be as broad or long as the sides of your tarp, as long as it is large enough for you to lie on, even if the ground on either side slopes away.
You might not have a source of electricity at the campground, so it would be great if you got a solar generator to power your devices. Acevolt campower 700 is a solar generator with great capacity. You can visit acevolt for more enquiries.


Leave a comment